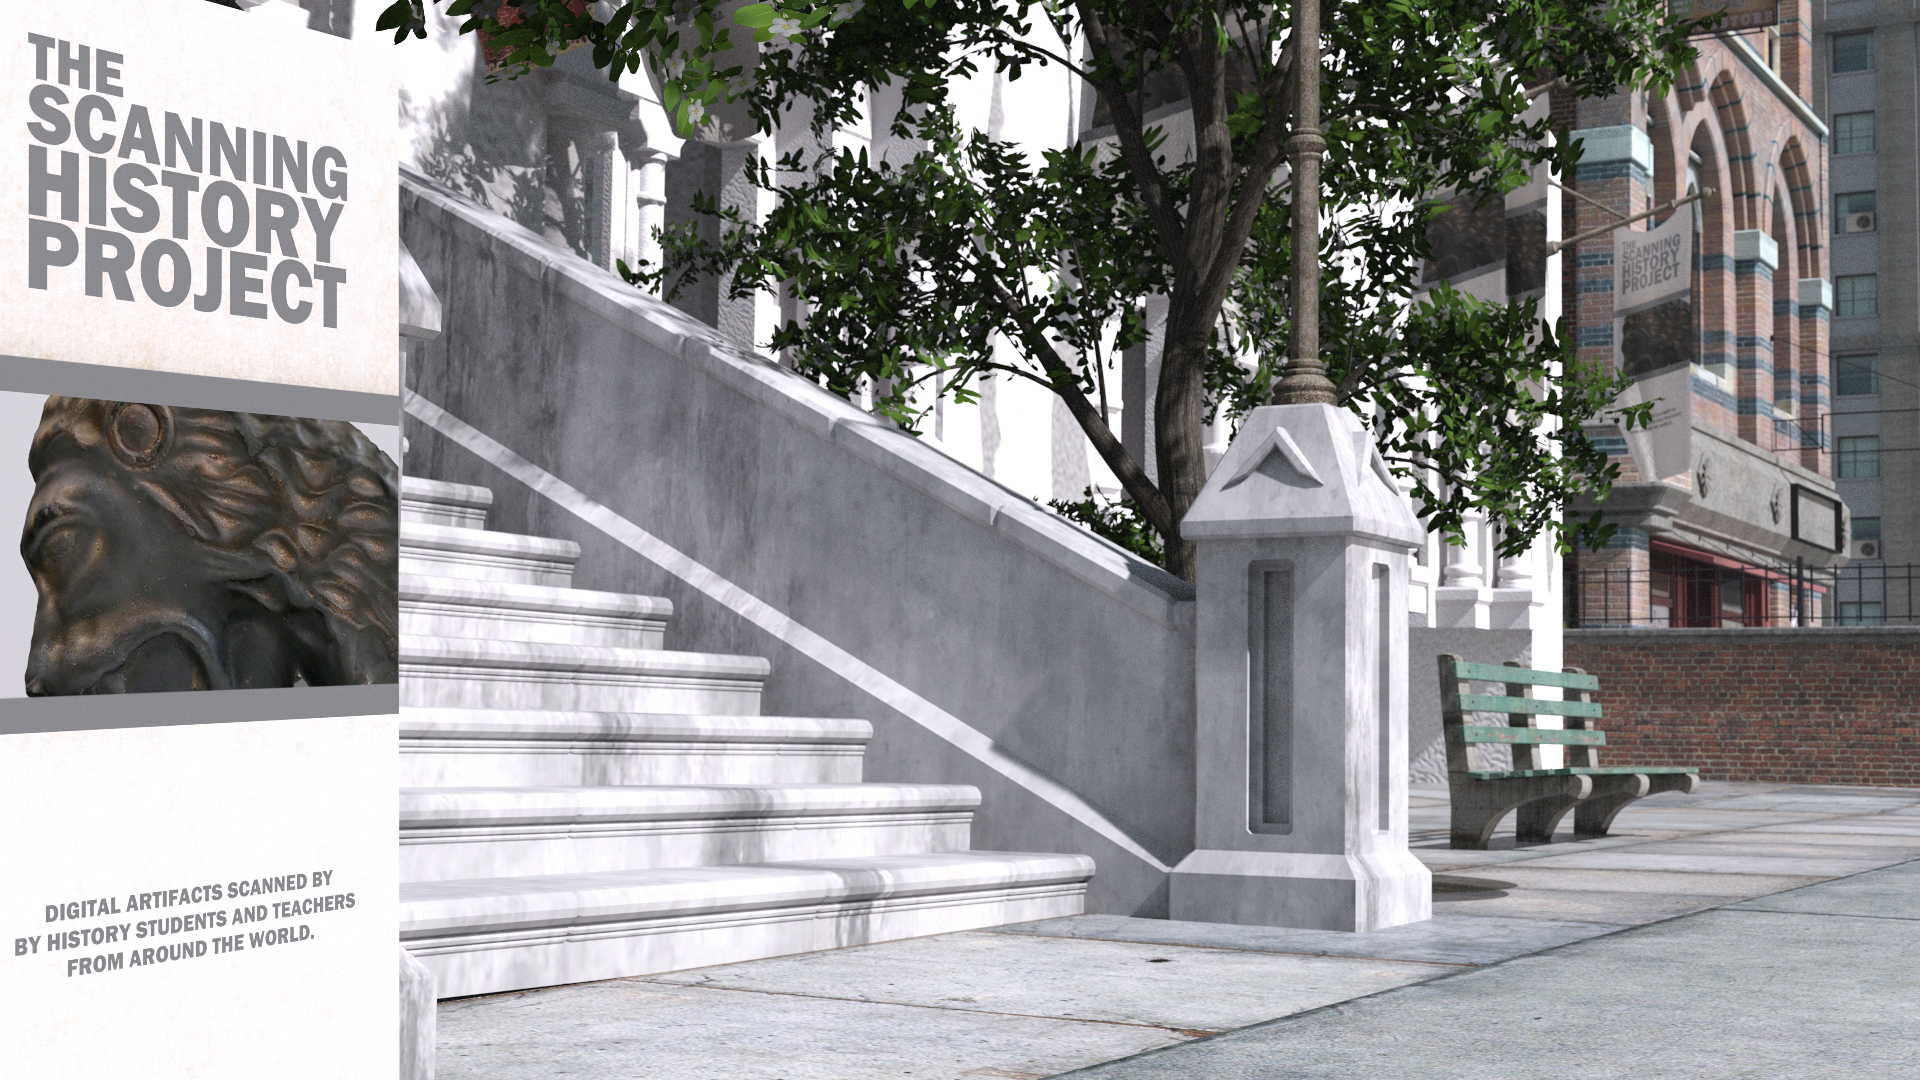
For the past few years, I’ve been working with classes from Holy Cross Secondary School and Standing Stone of the Oneida Nation to create 3D models of historical artifacts. We have placed these models in an interactive 3D museum called the Scanning History Project. You and your students can explore an early version of the museum by downloading the file onto a PC, unzipping the download, and launching the program. If you are intrigued by this project, please feel free to join us: we’d love to dedicate new rooms in our museum to classes from around the world.
Whether you want to join our museum project or wish to explore 3D scanning for different projects, there are several things you need to know before you get started.
Phone-based apps
A few smartphones feature the technology necessary for 3D scanning. The user simply needs to download the app of their choice, launch the app, and begin scanning. Because the scanning happens in real time—the model is created on your phone as you move around the object—this technology is really engaging. On the downside, I haven’t seen an app that produces high quality models. In my limited experience with app-based solutions, the models look muddy and malformed. That being said, if you have a new phone and a few dollars to spend, picking up a 3D scanning app might be a good option. At the very least, these apps will help you understand what is possible.
Sprout G2
The Sprout is a highly-specialized computer from HP. It has a built-in 3D scanner which makes scanning smaller objects– ranging from the size of a smartphone to a football –quite easy. As the user rotates the object around, the Sprout builds a 3D model of the object in real time. Mastering the rotations can take a little bit of time, especially since the Sprout will add your fingers to the model if you don’t move them regularly. Still, with good lighting and nimble hands, you can use the Sprout to produce some excellent models. Best of all, the entire process can take as little as three minutes.
Photogrammetry
Photogrammetry is the most time consuming—but also the most powerful—option for 3D scanning. Essentially, the user takes a series of photos of an object, imports them into the program of their choice, follows a few steps, and produces the model. While photogrammetry programs usually have lots of bells and whistles, the basic steps to build the model are the same:
| Take a bunch of photos (I took approximately 150 photos of this statue from different angles) | |
| Import the photos | |
| Align the photos (the program identifies common points between in subsequent photo) | |
| Build point cloud (the program creates a thick cloud of dots based on the common points from the last step) | |
| Build model (using the point cloud as a reference, the program builds a 3D model) | |
| Build texture (This last step creates an image for the surface of the model that contains the colours and details) |
Every program I’ve used makes it easy to follow these steps; in fact, most programs have these steps in the same menu, which simplifies the process immensely.
Photogrammetry can be expensive but, depending on the resources available, you may be able to start for free. Most photogrammetry programs require a good processor, lots of RAM, and an nvidia graphics card. Thankfully, computers designed for video editing and gaming pcs/laptops are more than powerful enough to run the options. So, if you have access to a good computer in your school’s Communication Technologies classroom, or if you have access to an entry level gaming PC or better, you won’t need to invest in new technology.
Although you can use fancy DLSRs if you wish, cell phones provide an easy and powerful option. Students can work in small groups to photograph specific artifacts; the images they take can be shared to a folder in either Google Drive or OneDrive, allowing your class to build the 3D artifacts long after the actual photos were taken. As long as your students follow these basic rules, you should get good results:
- Remember the 80% rule! Photogrammetry programs work best when there is at least an 80% similarity between one image and the next. Imagine there is a circle around the object. Move along that circle, taking a photo roughly every 8-9 degrees (I take a small shuffle step before I take each picture to approximate the degrees). Thus, a single rotation should give you over 40 photos.
- If you can’t see it in a photo, the program can’t make it! If you are trying to scan the bust of a historical figure but forget to take pictures of from every angle, you might end up with a 3D model with holes. Thus, you should do three rotations: one with the camera level with the bust, one at low angle pointing up at the bust, and one at a high angle pointing down at the bust. This approach will help the program build a more complete model.
- Keep the zoom and distance consistent! I like to start by identifying the widest part of the object I wish to scan; once I find a zoom level and a distance that allows me to capture the entire object in my photo, I use them as a reference for the rest of photos. For example, if I take my first photo 40 cm away from the object, I will maintain a 40 cm distance as I rotate around the object.
Lighting
Lighting plays a key role in photogrammetry. Ideally, we want lighting to be uniform and diffuse. Bright sunlight makes photogrammetry challenging: sunlight creates harsh shadows that not only darken the texture you create but also impact the shape of the model. Cloudy days are perfect for photogrammetry: the clouds diffuse the sun’s rays, eliminating most shadows; any shadows that persist are soft and barely noticeable. The same basic rules apply indoors. Soft, diffused lighting will result in more consistent textures and a better 3D model. There are several ways to create diffuse lighting, such as having students create a simple light box or tent using basic materials; I’ve found that dollar store table clothes work well as long as you do not place them too close to a hot light source.
Choosing Your Artifacts
3D scanning works best when the object is static, opaque, and matte. Objects with parts that move on their own or due to the environment, like branches moving in a wind storm, will not scan well because the program will not be able to create reliable points in 3D space. Similarly, 3D scanning technology doesn’t work with transparent or reflective surfaces because those surfaces don’t provide reliable and consistent points of references. Stone and concrete scan very well; thus, consider experimenting with statues and monuments first.
Happy scanning!
Jim Pedrech is a HIstory teacher with the London Catholic District School Board and a Microsoft Innovative Educator Fellow.